mods, Technology & Coffee
Temperature Pt. 1: Getting Started
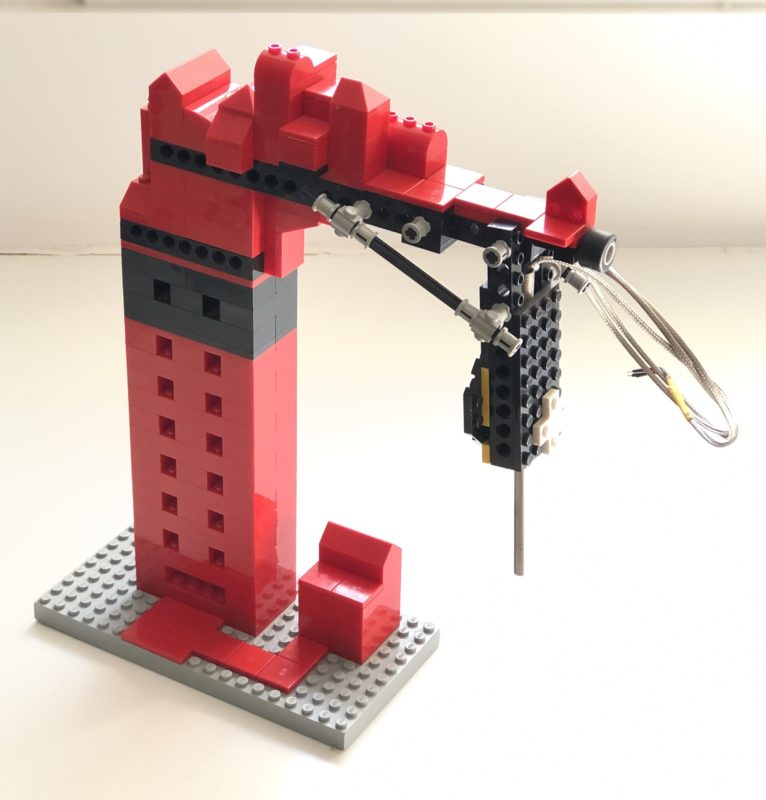
One of my first ventures into experimenting with temperature probes. My son Max and I built a Lego thermocouple holder as part of a warm water bath sous vide experiment.
- Part 1: Getting Started
- Part 2: Hardware
- Part 3: Code
- Part 4: Reading Temperatures
Temperature Part 1: Getting Started
In this post we’re going to dive deep and explore the world of temperature sensing. Temperature is one of more critical variables when it comes to brewing an excellent cup of coffee. The goal of this post is to build a very accurate three input thermometer and display the resulting temperatures.
There are a wide variety of different temperature sensors available so we’re going to focus in particular on resistant temperature detectors or RTDs for short. RTDs work by measuring the resistance of an electrical charge as it passes through a metal wire. As the temperature changes so does the resistance of the wire, which in most cases is made from copper or platinum.
With a little bit of effort it’s possible to create a very accurate device that can monitor the temperature of a steam boiler, brew water, or a group head. In later posts we’ll cover how to connect the Arduino to Processing to plot this data over time.
Required Tools
- Playing with Fusion SEN-30201-PT100 RTD Breakout Board
- Solderless Prototyping Breadboard
- Breadboard Jumper Wires
- PT100 RTD Sensors
- Arduino MEGA 2560 rev3
- I2C 20×4 LCD Display
- Arduino MEGA sensor shield
- Header Pins
- Soldering Iron
RTD Breakout Board
One great aspect about working with Arduino MCUs is the wide variety of breakout boards available that can be used to increase a device’s functionality. RTD breakout boards amplify the signal from a sensor and pass it along to an MCU. With the right code, that signal can be easily translated into a temperature reading. My favorite board is the SEN-30201-PT100 from Playing with Fusion which uses the MAX31865 IC. Many other manufactures use the same IC which make libraries somewhat compatible between the various brands. The PWF card uses an SPI connection and is compatible with 2, 3, and 4 wire RTDs without having to solder jumpers.
Prototyping Breadboard
Breadboards are useful tools which allow the user to connect daughter cards, ICs, resistors, capacitors and so on, onto stable base. Pin holes facilitate the wiring between the components and either Jumper Wires or Dupont Cables may be used to make circuits. Breadboards come in a variety of sizes and for our current purpose we’ll be using the “full” size.
PT100 RTD Sensors
There’s a probe for every purpose and a quick search on Amazon or eBay will yield a wide variety of results. Surface mounts, magnetic clamps and a variety of probe lengths and diameters with threaded attachment points can be found after a little searching. RTD sensors comes in 2, 3, or 4 wire configurations. The more wires, the more sensitive the probe.
RTD probes are in general faster, more accurate and experience less drift than thermocouples but come at a higher price. We’re going to be using PT100 sensors, not to be confused with the more accurate PT1000 variants. PT refers to the material used in the sensor which is Platinum and 100 as the measured resistance in ohms at 0° C.
For general use a 3 wire RTD can be purchased for $11 USD. While that might seem expensive this sensor can measure a temperature range of -50° to 200° C and is encased in a stainless steel waterproof enclosure.
Once you’ve decided on your final application, Omega is one of the best sites for high quality and reliable RTD Sensors and they can provide custom probes in just about every shape and size. That being said be prepared for higher prices but remember the cheapest option is not always the best. I’ve had issues with low end RTDs from eBay being DOA, failing after a short period of time, or having limited sensing range.
Pin Headers
Headers that are used to add connections for male and female Dupont Cables or to attach PCBs to breadboards. Buy a set, they’ll last a long time.
Soldering Iron
Many people get scared when they see that soldering may be required. Don’t get intimidated, it’s easier than it looks. And they’re plenty of good youTube videos out there that can get you started quickly. I prefer the Japanese Hakko brand because they’re tiny and reliable. Remember, good tools are always worthwhile investments.
Prerequisites
- Basic understanding of programming and uploading sketches to an Arduino. Even if your scripting skills aren’t exceptional, if you’re able to wire up the hardware correctly you’ll still be able to achieve the results in this post.
