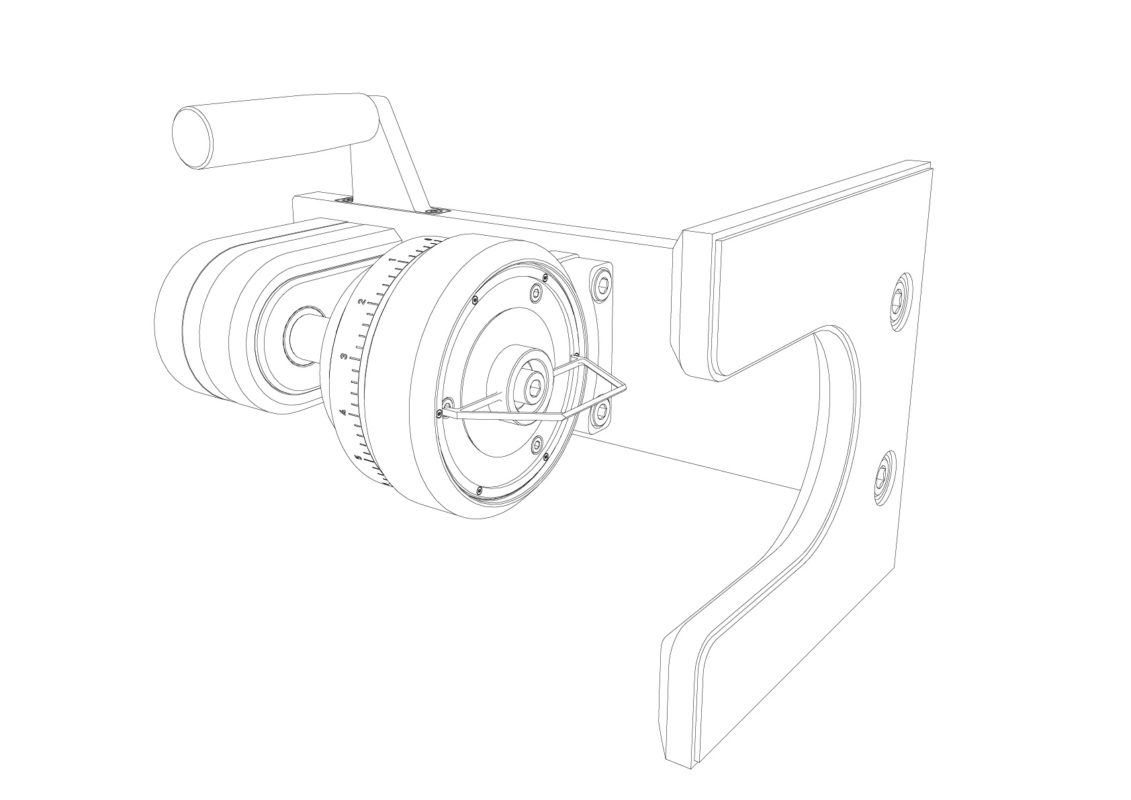
Changing the HG-1 PRIME burr set
From start to finish, the entire process of swapping a burr set takes around 5 minutes and requires only two metric hex keys. That being said, the average life span of a set of Mazzer conical burrs is around 1600lbs of beans, which roughly equates to 30 years of usage if you were grinding 1lb of coffee per week.
Why did we go to the trouble of posting information information on how to change a burr set?
We’re looking at other burrs from various manufacturers that will offer slightly different grind characteristics. Since it’s an easy task swapping burr sets on the HG-1 and HG-1 PRIME, it’s conceivable that the home user might eventually purchase other mills to try.
Begin by removing the lower funnel, and placing the grinder on the side. Be sure to have a dish rag or soft towel in place to prevent damage to the grinder. Hold the Upper Funnel while tilting the grinder, to prevent it from falling off and damaging the grinder. Do NOT place fingers on or near the burrs, serious injury can occur.
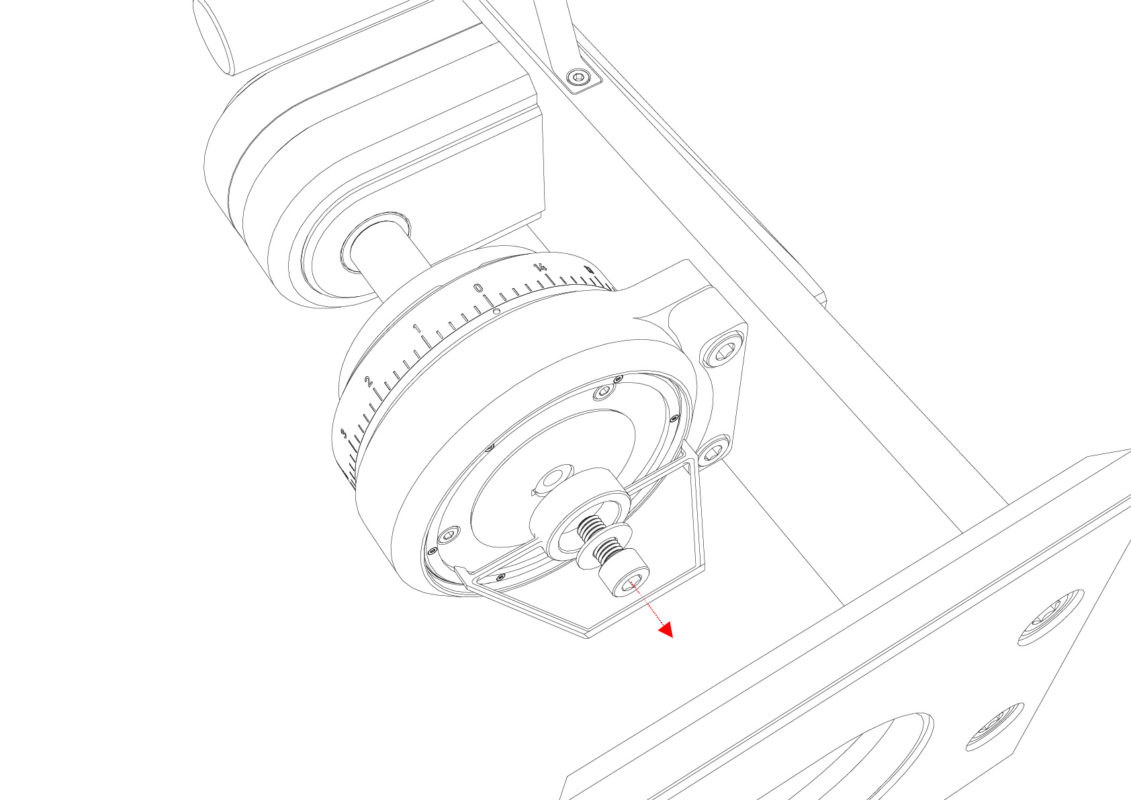
Using a 5mm hex key, remove the hex screw, washer and static wiper. Do not tilt the grinder upright at this time as the inner burr can easily fall off and damage the grinder.

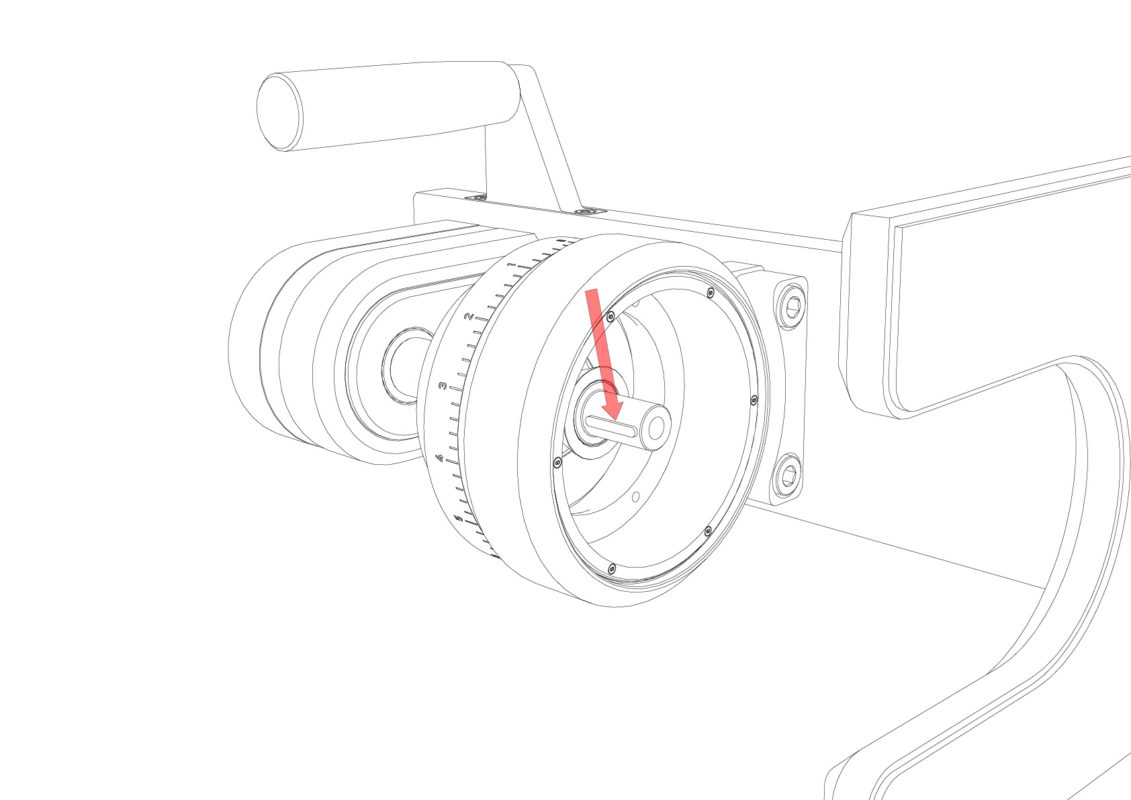
Remove the inner burr by pulling it downward and away from the outer burr.
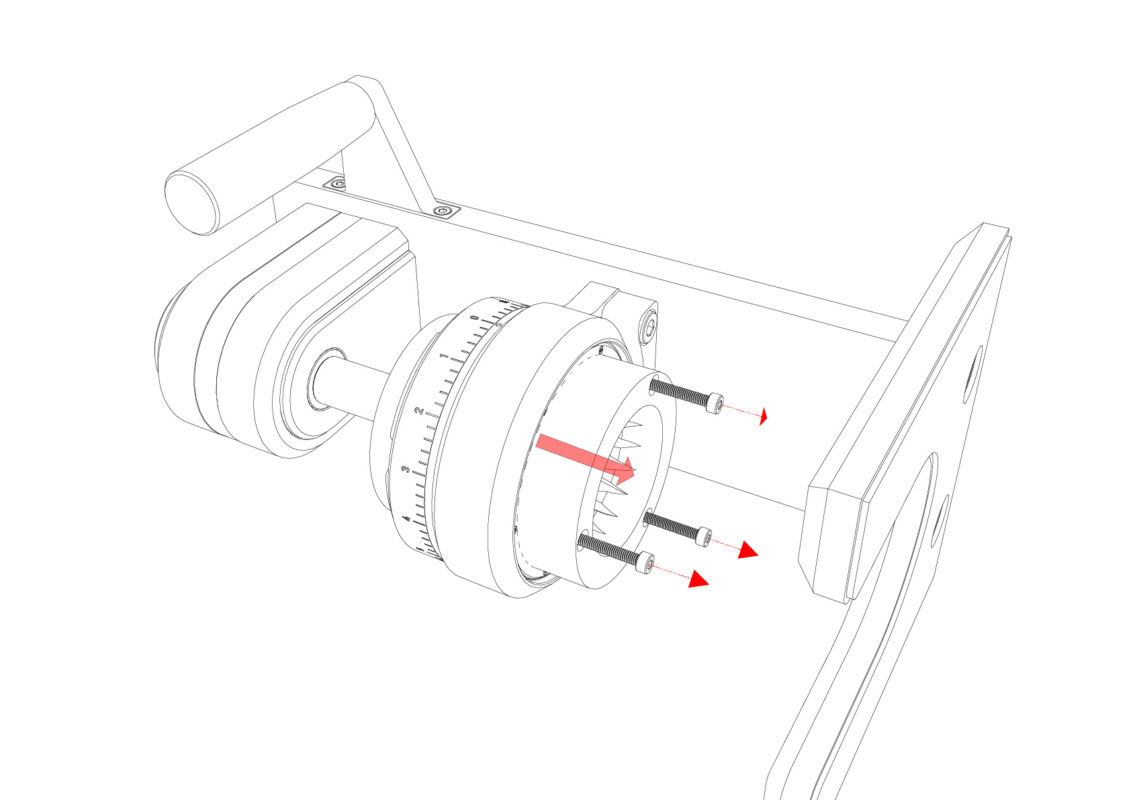
Unscrew the 3 hex screws using a 3mm hex key. Notice that the screw holes of the outer burr line up with one set of magnets. This will be useful when reinstalling the outer burr. Pull on the outer burr to remove it from the burr mount.
NOTE: There is a small feather key located in a keyway on the Main Shaft. Do not misplace this part, otherwise the grinder will not operate properly when re-assembled.
Here’s a video which shows how to change the burr set on an older model HG-1 grinder. This is essentially the same process as with the PRIME.