ADJUSTING alignment
These instructions are for the 2017 model of the HG-1 which has alignment mechanisms that allow for user adjustments.

Using a 5mm hex key, loosen but do not remove the screws on the bottom of the burr collar shelf.

Shift the burr assembly in the desired direction. Tighten the screws when satisfied. If necessary, set the grinder as close as possible to the zero-point while the screws are loose and make the necessary adjustments before tightening the screws.
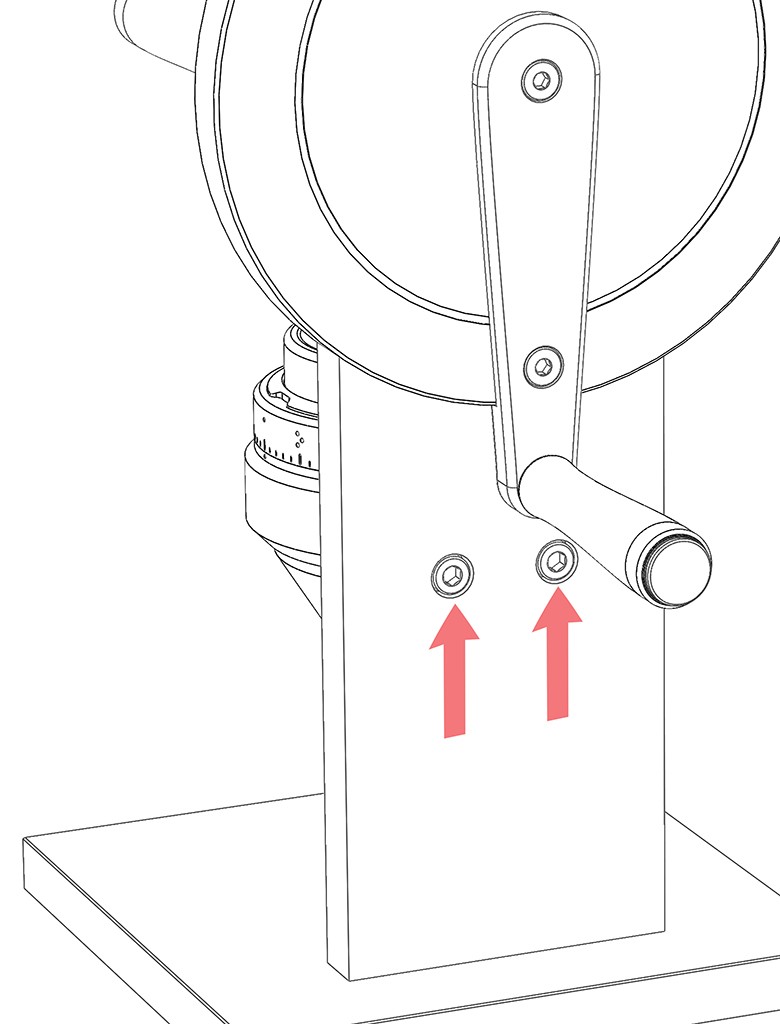
Using a 6mm hex key, loosen but do not remove the screws on the back of the grinder.

Rotate the burr assembly in the desired direction. Tighten the screws when satisfied. If necessary, set the grinder as close as possible to the zero-point while the screws are loose and make the necessary adjustments before tightening the screws.
We recommend the user only preform one set of adjustments at a time, starting with the planar and then moving onto the rotational axis if necessary.