Cleaning the burr mount
The burr mount serves as the adjustment mechanism for the grind and also holds the outer burr in place. It’s critical to keep it well maintained in order to keep HG-1 working in top condition.
Start by finding a good place to work, preferably someplace clean and well lit with a stable base for your grinder.
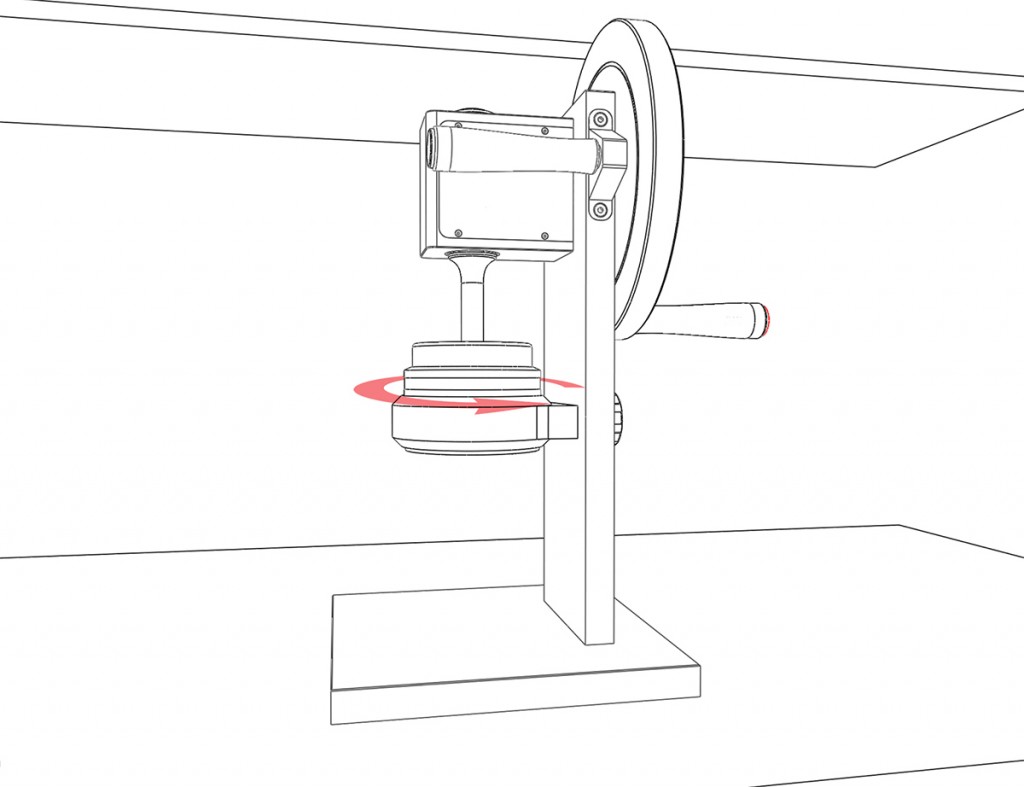
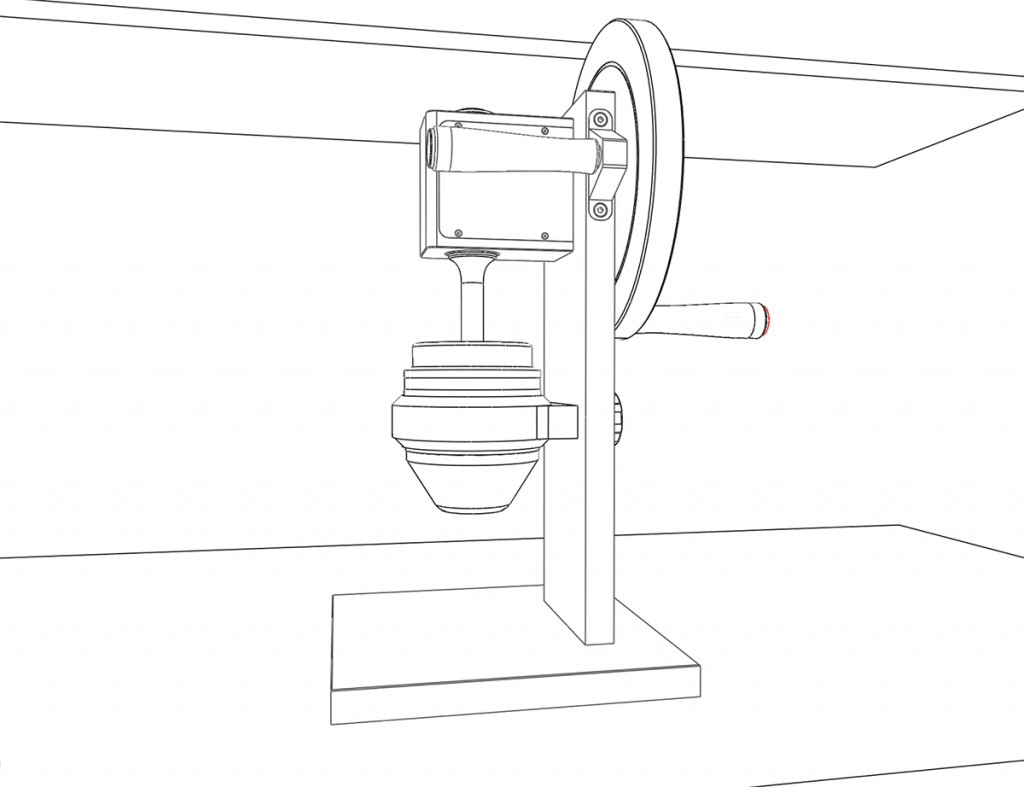
Remove the lower funnel from the grinder and place it someplace out of the way. Next loosen the burr lock knob by turning it counter clockwise. Now start turning the burr mount counter clockwise till it releases from the burr collar.
Be careful, the burr mount and the outer burr are heavy.
Once the burr mount releases from the burr collar, carefully lift the it upwards along the main shaft.
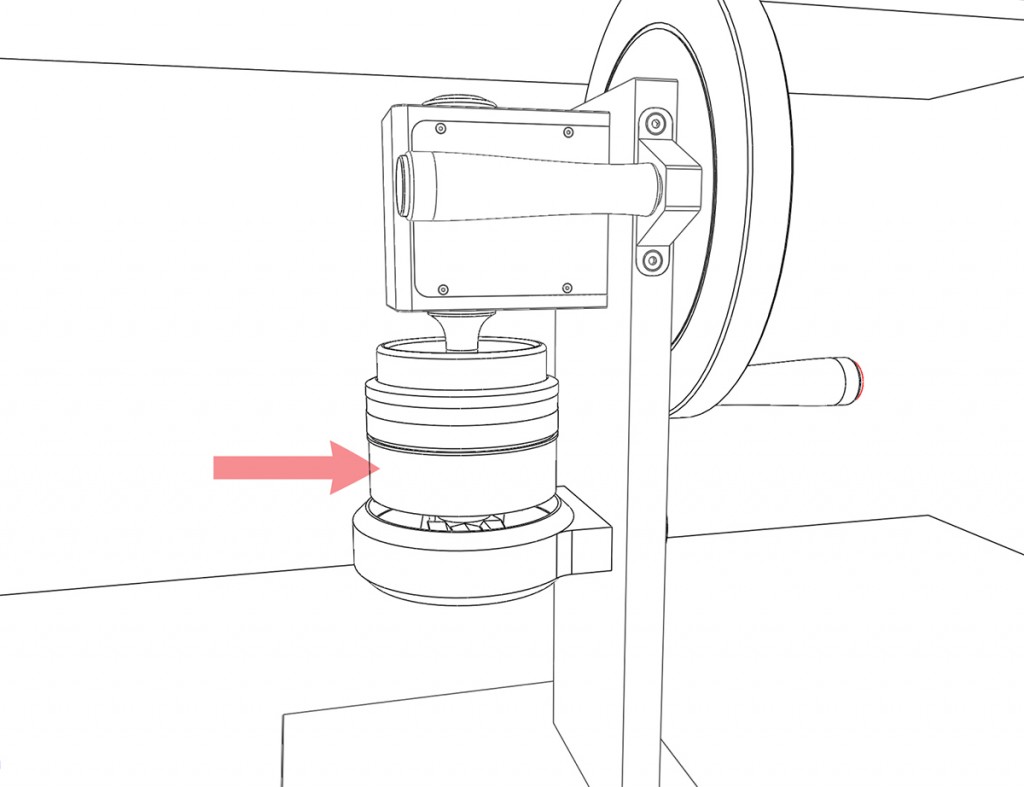
On the outside face of the burr mount is a 1mm pitch fine thread which mates with the burr collar. Above the threads is a groove for the O ring gasket, which is used to prevent any grounds from falling down into the mechanism. With a clean cloth, wipe the threads of the burr mount and burr collar removing any old lubricant. Be careful note to rip the O ring or knock the burr mount and damage the threads.
With your free hand, apply a small amount of clean lubricant to the burr mount.
This is critical so please pay attention.
With fine threads there’s the distinct possibility of cross threading when trying to re-seat the burr mount. Here’s a little tip to prevent this from happening to you. Place the burr mount back into the recess in the burr collar making sure that it lies level. Now slowly turn the burr mount counter clockwise. Eventually you will hear a soft click when the two sets of threads fall into place. Now it is safe to turn the burr mount clockwise.
Keep rotating the burr mount clockwise till the inner and outer burrs touch. You’re back at the zero point.